V-Carve Inlays With A Hobby CNC. Is It Even Possible?
Share
A while back I decided to try my hand at doing V-Carve inlays using my Genmitsu 4040 Pro CNC machine. Though it has Pro in the name, at $599 it's clearly a hobbyist CNC machine. I quickly found out that it wasn't up to the task and couldn't cut with the accuracy I needed to do V-Carve Inlays but, after some research I found out there was an updated XZ axis that would fix the flexing issues I had been having and allow for more accurate cuts.
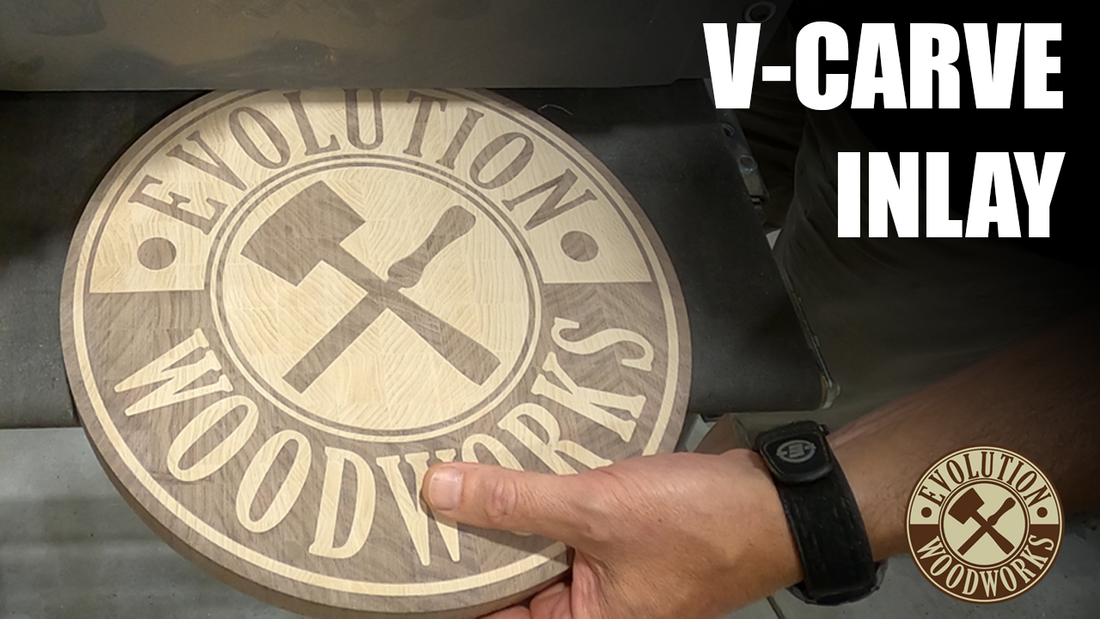
After replacing the fixture I decided to give it another try. I ran a few test pieces to dial in the parameters for a good full depth inlay and then I decided to go big and make a sign for the shop with the Evolution Woodworks logo on an end grain cutting board.
CLICK HERE To Save 10% On Sainsmart Genmitsu CNC & 3d Printing Products!
I grabbed some maple and walnut off the shelf and built two end grain cutting boards. The first was walnut and would be the socket side of the inlay pattern. Since it was just a sign and not an actual cutting board I decided to make it about 1" thick. The second was made with the maple and would be the socket. This one was only about 1/2' thick since it would be mostly carved away in the end.

Finally after the last of the v-carve inlay was cut I cleaned up some edges with a hobby knife and glued the two pieces together. I placed them into a jig I had built on the 20 ton press and left them overnight for the glue to set. The next day I ran one more program on the CNC router to clear away most of the waste on the plug and back into the drum sander for the final clearance.
After running from 80 grit up to 220 grit with the random orbital sander I applied two coats of tung oil. Sanding in between with 220 then applied a coat of our Board Butter for a nice satin finish.

So, what's the verdict? Can we do a quality v-carve inlay using the Genmitsu 4040 Pro CNC router? I will say yes but with some reservations. I did end up with some glue lines and didn't get a full depth inlay like I had hoped. I believe those were issue linked back to the software setup and the bits I chose to do the carving though and not directly related to the machine.
Further testing is definitely in order. I'll need to go back into the Vectric V-Carve software and make sure I have the settings dialed in as well as trying out some different bit combinations for a better cut. Until then I can't say it's 100% possible but it's looking pretty good that it can be with a few tweaks.
Check out the video below to see how the process went and more details on the final results.
